
Power-On Tips for the KR C5 Control Cabinet KUKA Robot -- YM ROBOT
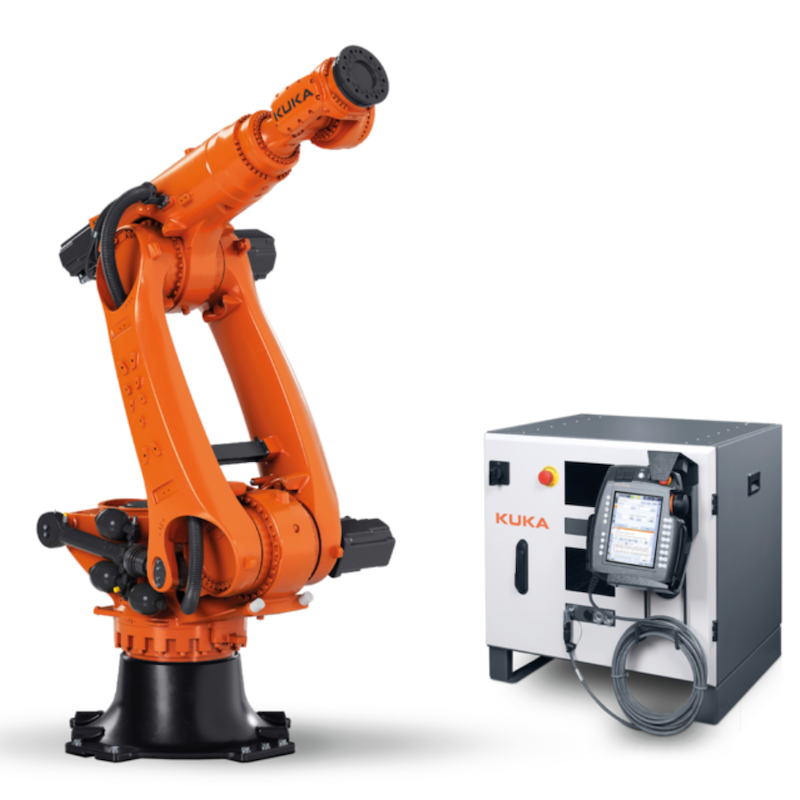
The KUKA KR C5 control cabinet offers higher performance, lower energy consumption, and a more compact design compared to its predecessor. Before powering this precision-engineered and compact device, we have a few tips to share.
Step 1: Inspect the appearance of the control cabinet and the robot
[Step 2: Wiring]
——01 Connect the battery
Open the cabinet door. There are two batteries on the door, and one of the two connectors on the upper battery is in a disconnected state and needs to be connected. Please pay attention to the wiring labels.
——02 Locate the cabinet door switch on the wiring side to the right of the control cabinet and rotate it to open the side door

For easy wiring, the side door ground wire can be disconnected, and the entire door can be lifted and removed.
——03 Controller Interface and Functions (The selected interfaces in the red box are commonly used)
——04 Routing
——05 Notes
a. For cables with a shielding layer, the shielding layer must be crimped to ensure electrical continuity between the shielding layer and the housing.
b. Select cable clamps that match the cables to ensure sealing, and fill unused holes with plastic plugs.
When securing multi-core cables with cable ties and Velcro straps, ensure that no single cable strand bears excessive stress.
For a control cabinet containing multiple controllers, each layer will have a grounding terminal connected to the robot.
e. Before powering on, check that the voltage between each pair of power supply lines in the control cabinet is within 400V±10% (the voltage may vary depending on the configuration). Then, close the cabinet door and turn on the main power.
Contact us for more information about KUKA Robot
FANUC Robot|ABB Robot|KUKA Robot|YASKAWA Robot|KAWASAKI Robot|UR Cobot|JAKA Cobot|OTC Welding Robot|Positioner|Guide Rail|Robot accessories|Robot integration|Industrial robot|cobot|Scara robot|Delta Robot
 China Industrial Robot Supplie
 When Customers Ask for Differe
 Why Fast Quotation Response Ma
How a One-Stop Industrial Robo
Why Fast Quotation Response Ma
How a One-Stop Industrial Robo