
Tips: How to create systems for Each robot when Importing multiple robots in RobotStudio
When opening the RobotStudio software, the first step is often to import the robot model and create the robot system. This, as a fundamental operation we have learned, is no stranger to everyone, especially the system creation when there is only one robot in the workstation.
So, if two or more robots are simultaneously introduced into a workstation, how can systems be created for each of them?
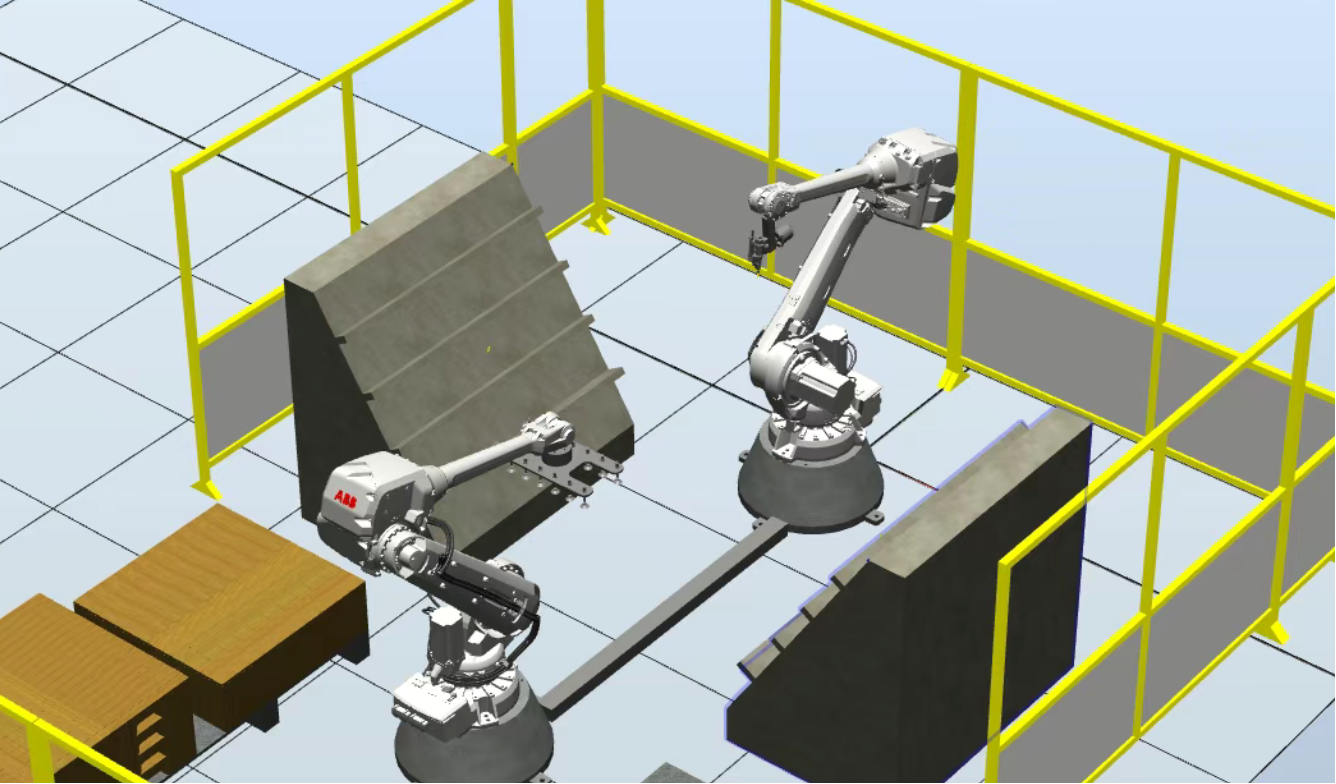
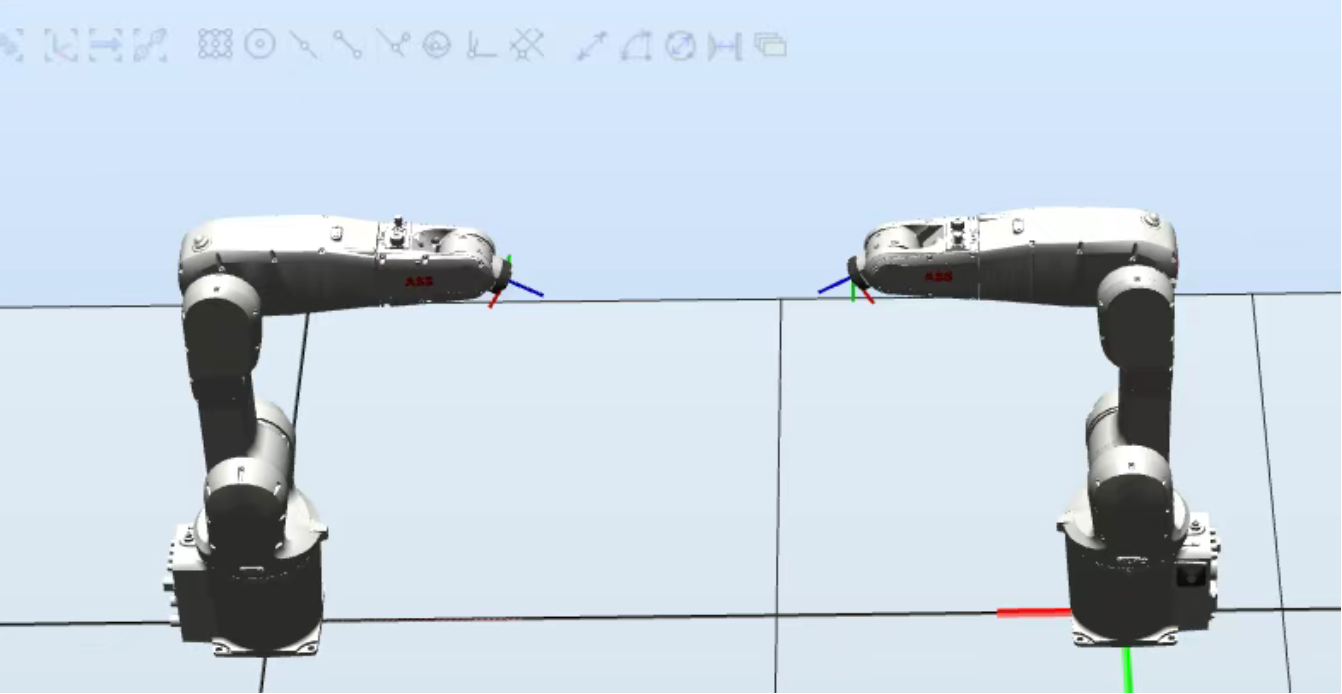
1, import two robots into the workstation (the layout of other models is simplified).
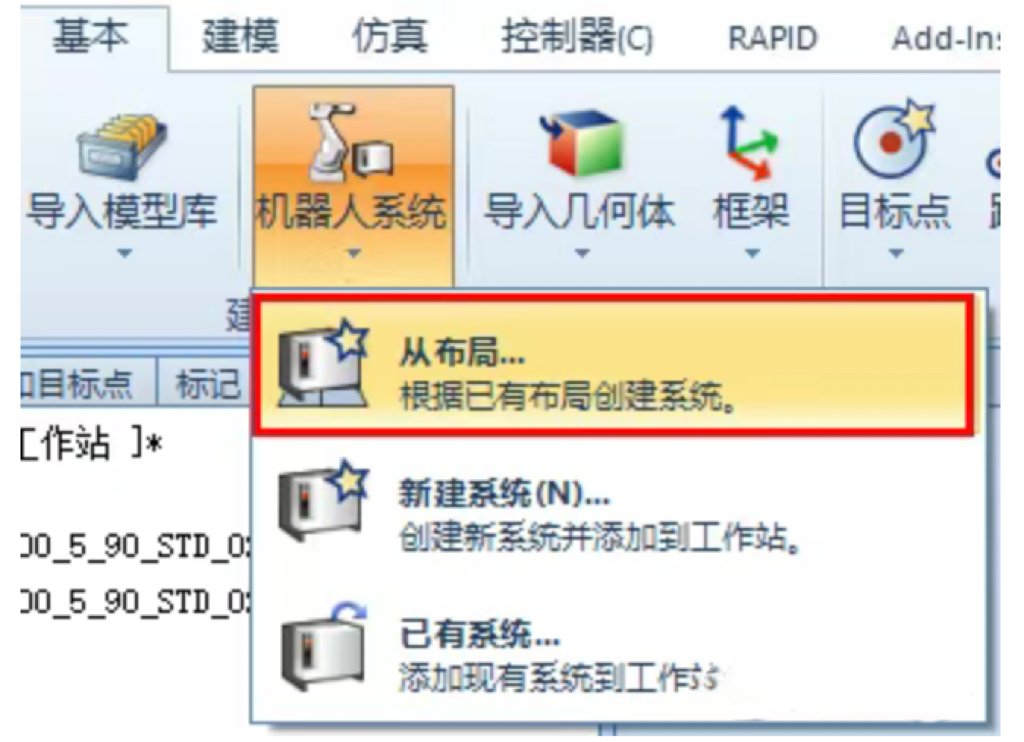
2, create a robot system through "From Layout".
1. Click on [Robot System] - 2. Click on [From Layout]
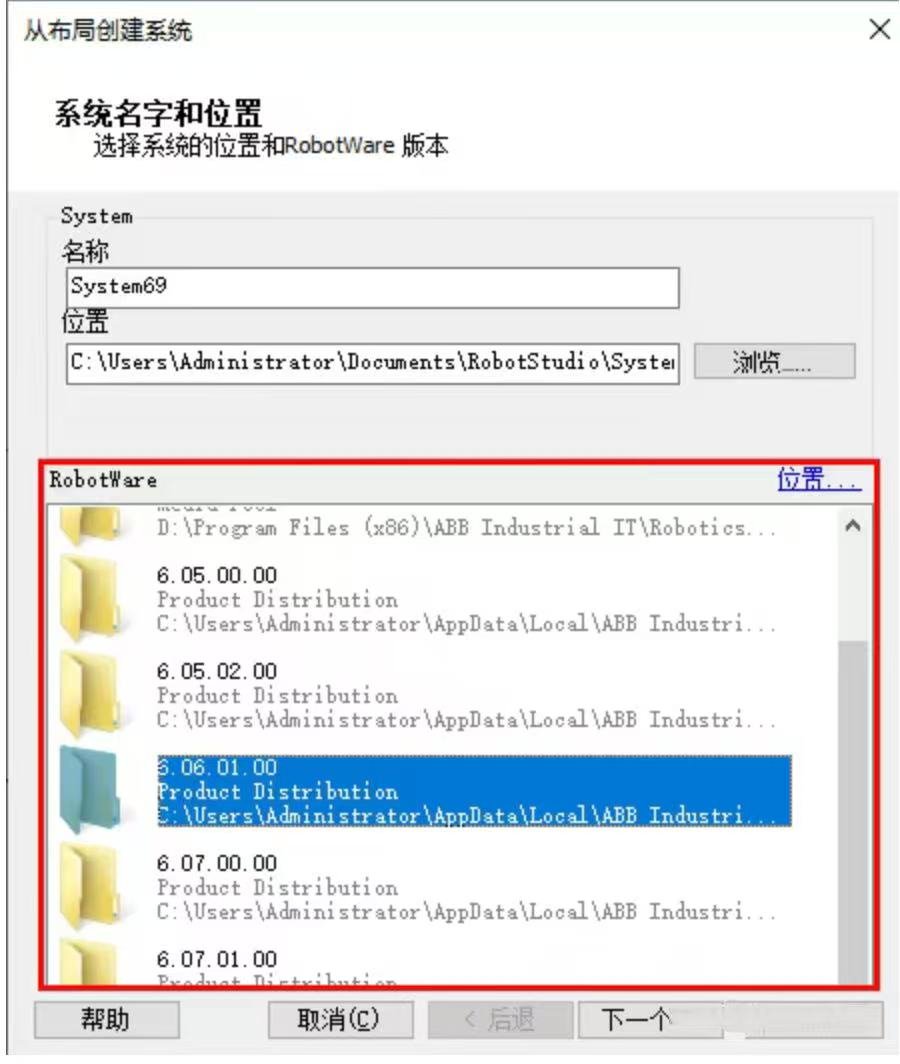
3. Select the RobotWare version - 4. Click [Next]
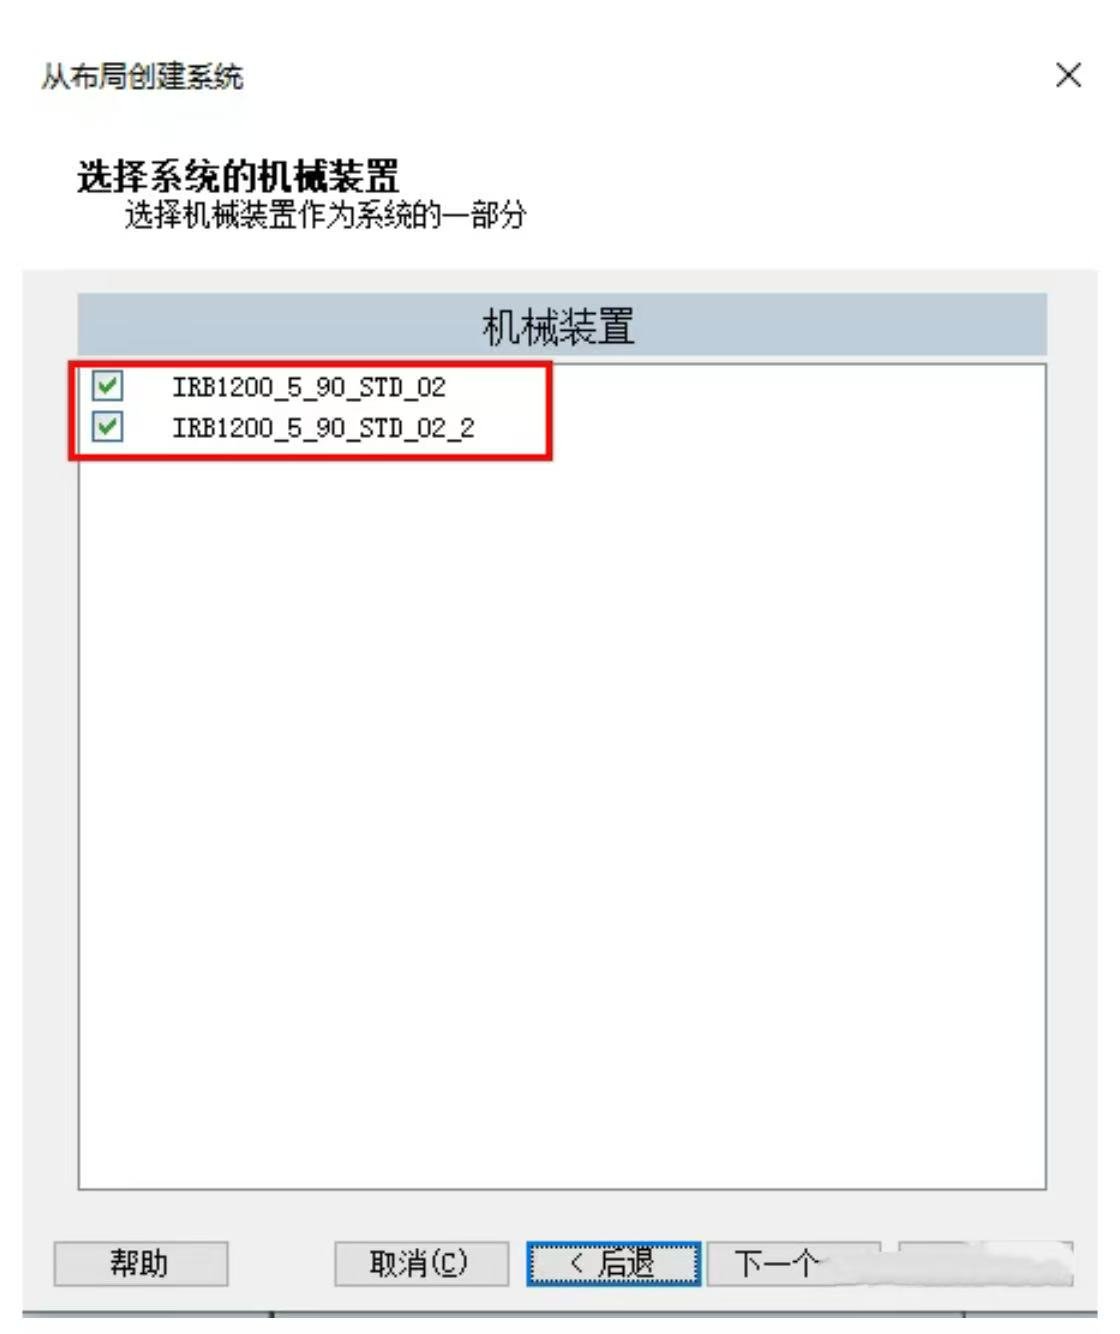
5. Select the robots for which you need to create a system (you can create them together or separately). If you choose to create them together, the system will default to the 623-1 Multitasking 604-1 MultiMove Coordinated option. Here, we choose to create them simultaneously, as shown in the following figure.

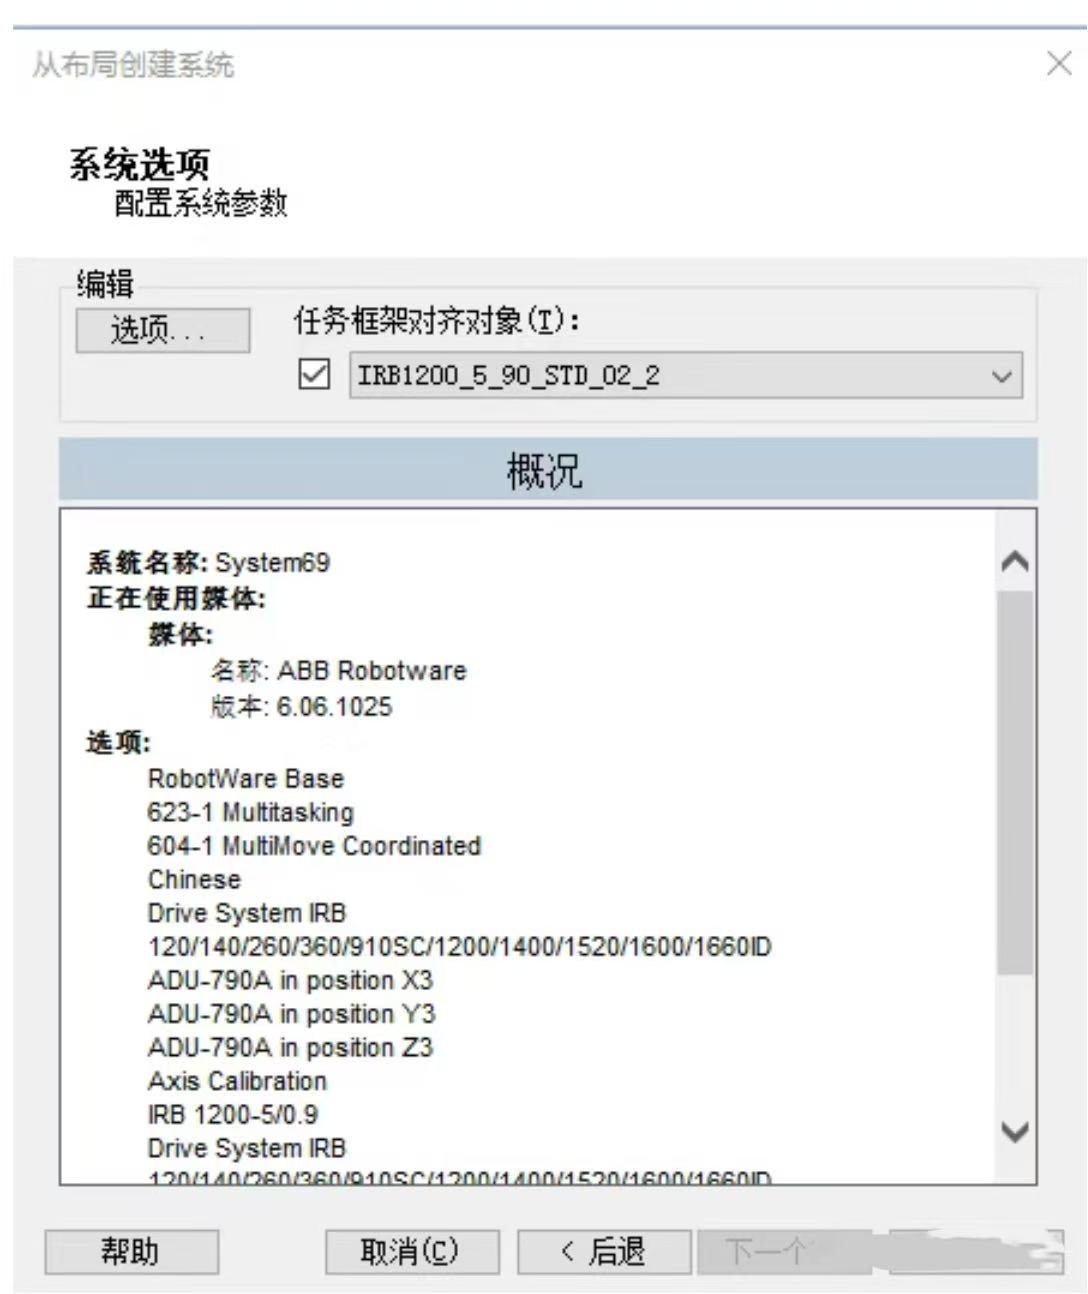
6. Click [Next] - 7. Add [Options] to the robot and click [Finish].
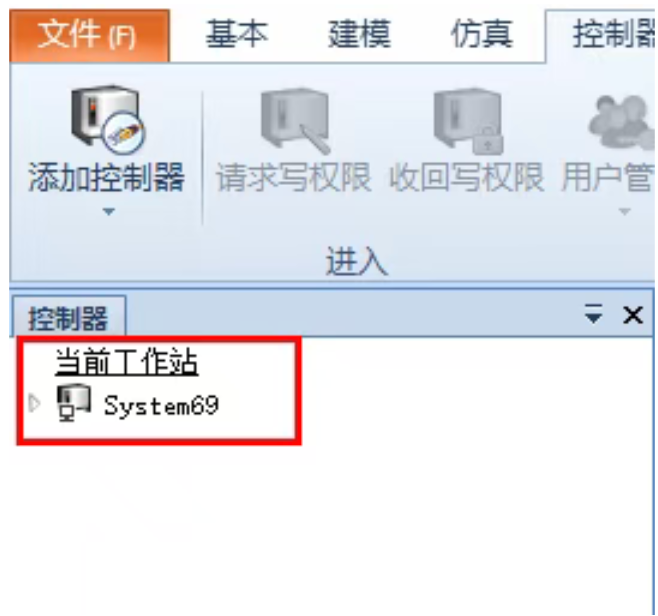
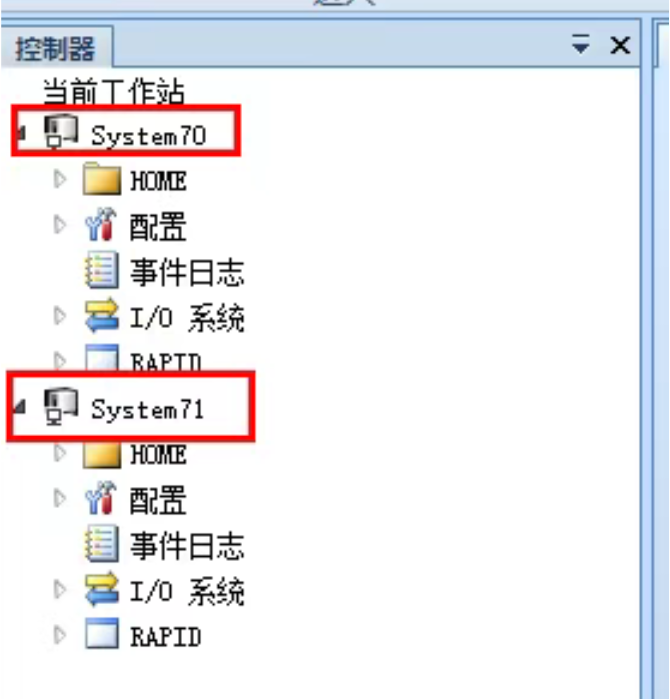
After the creation was completed, when the teaching device was opened, we found that the created system was a multitasking system, and only one system could be seen in the robtstudio interface.
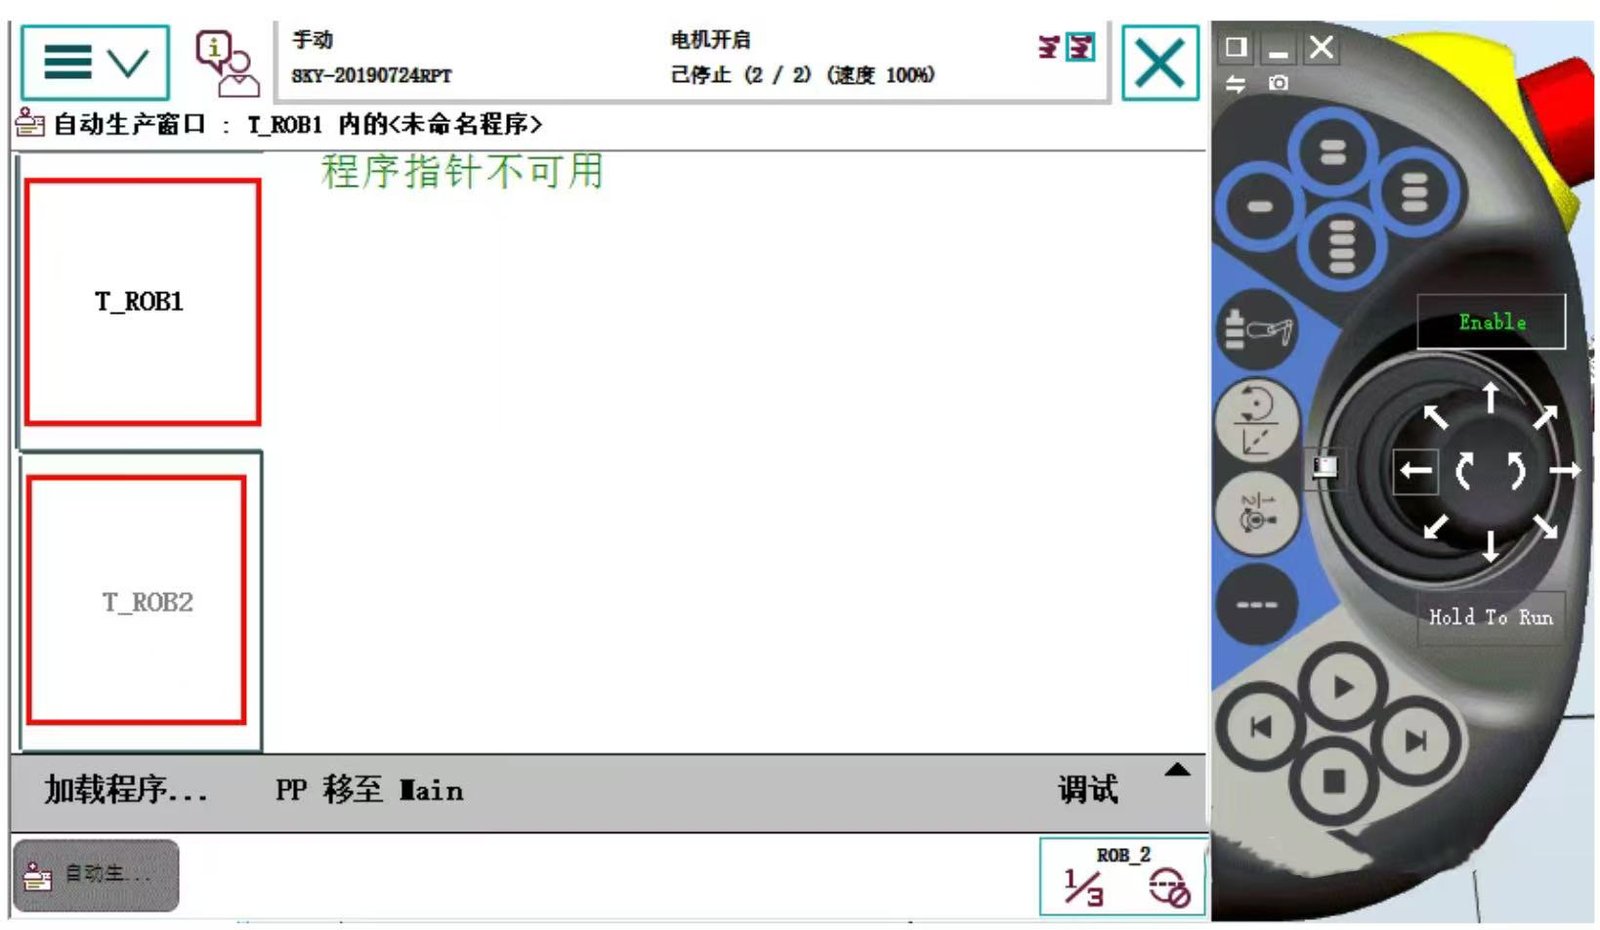
The robot to be operated can be selected through the quick switch key of the mechanical arm.

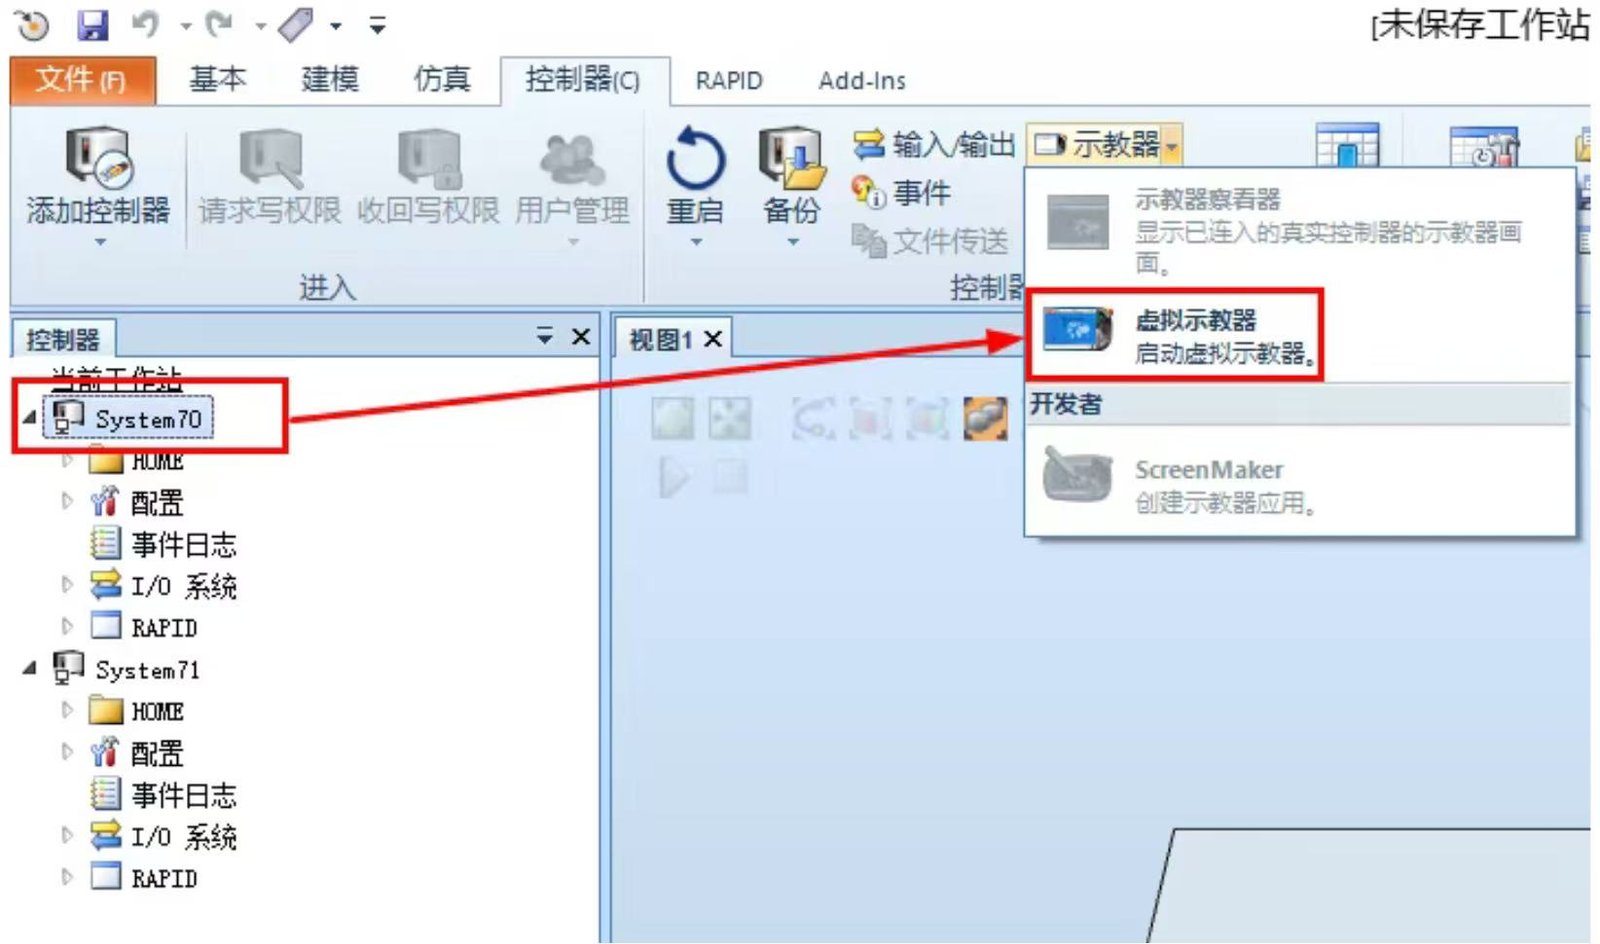
Supplementary note: If individual machines are selected in step 5 to create robot systems one by one, two robot systems will be created in the end.
To turn on the teaching device, you need to select the corresponding system and then click on the teaching device.
Contact us for more information about Industrial robot
FANUC Robot|ABB Robot|KUKA Robot|YASKAWA Robot|KAWASAKI Robot|UR Cobot|JAKA Cobot|OTC Welding Robot|Positioner|Guide Rail|Robot accessories|Robot integration|Industrial robot|cobot|Scara robot|Delta Robot
 China Industrial Robot Supplie
 When Customers Ask for Differe
 Why Fast Quotation Response Ma
How a One-Stop Industrial Robo
Why Fast Quotation Response Ma
How a One-Stop Industrial Robo